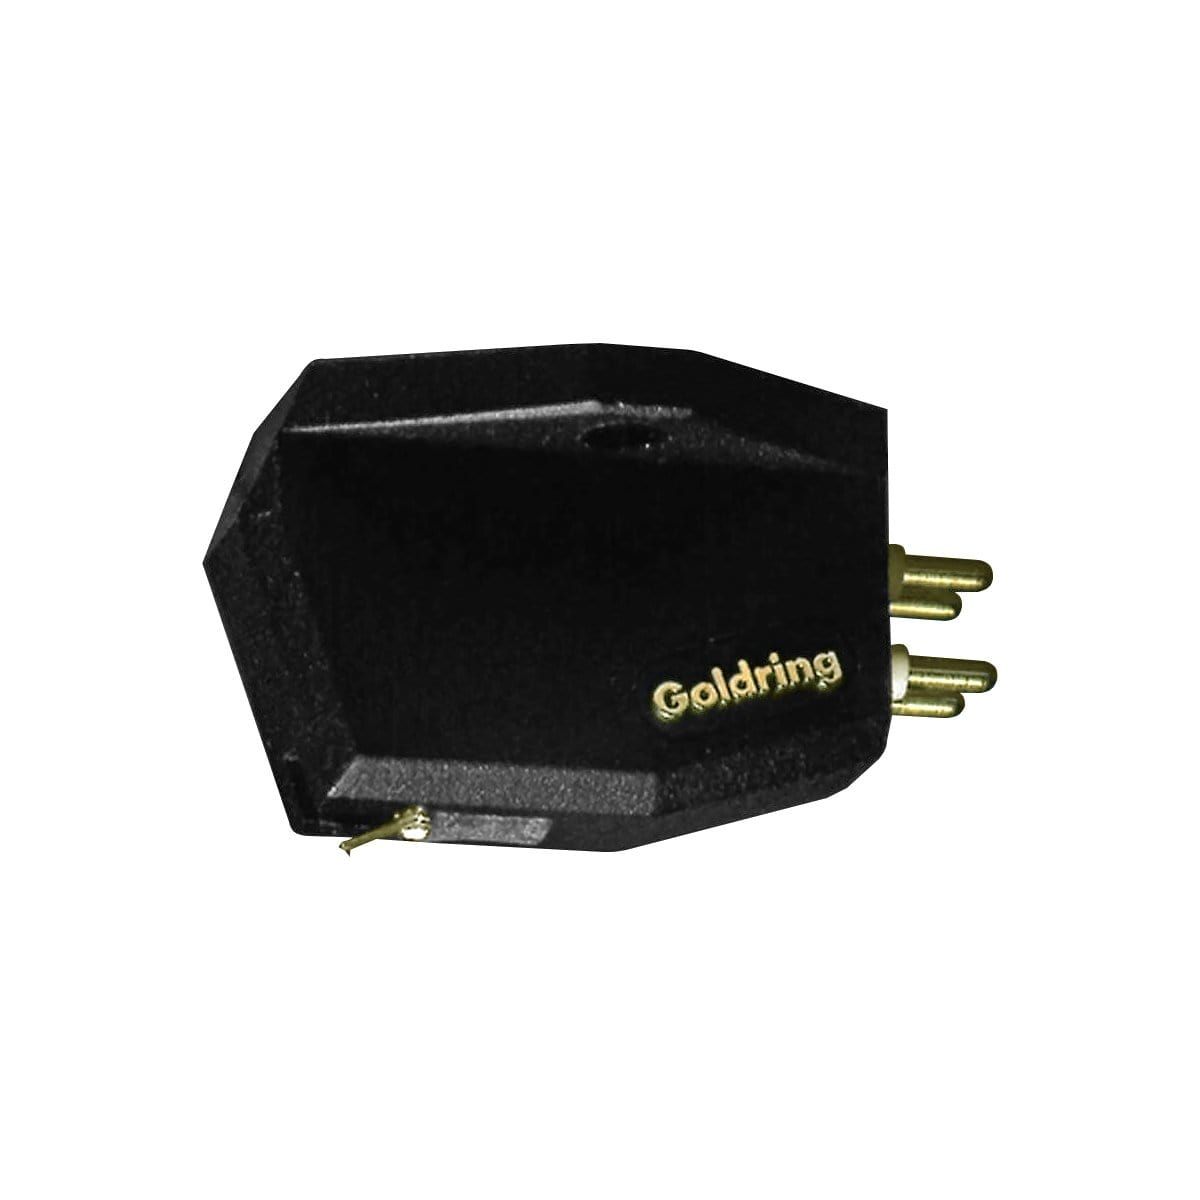

Goldring Elite Moving Coil Cartridge GL0010M

Ισορ.καναλιών 1dB max@1kHz Elite Διαχ.καν.>25dB min@1kHz Απόκριση 20Hz-30kHz@±2dB Ευαισθ. 0,5mV± 1dB@1kHz Βάρος κεφαλής/Τύπος 5,7gr/Gyger S Δύναμη αναγν. 1,5-2,0 gr (1,7gr nom.)Η Elite είναι μια εξαιρετικά υψηλής απόδοσης κεφαλή κινητού πηνίου, το οποίο ενσωματώνει τις πιο πρόσφατες δυνατότητες σχεδιασμού της Goldring. Αυτές περιλαμβάνουν νέα μαγνητικά κυκλώματα, ένα εξαιρετικά άκαμπτο Pocan® σώμα και ένα μαγνήτη νεοδυμίου.
We support installment purchases using a debit card. For details call us Phone
After Sales Support
Supplier guarantee up toYears

Next to you since 1976
Over 46 years of experience!

Join us
Earn special offers
Η Elite αντιπροσωπεύει ότι καλύτερο στη βρετανική τεχνολογία ήχου και σχεδιασμού.
προδιαγραφές
| Frequency Response | 20Hz-30kHz +/- 2 dB |
| Channel Balance | 1 dB max. @ 1 kHz |
| Channel Separation | 25 dB min. @ 1 kHz |
| Sensitivity | 0.5 mV +/- 1 dB @ 1 kHz |
| Static Compliance | 18 mm/N |
| Equivalent tip mass | 0.35 mg |
| Vertical Tracking Angle | 20 ° |
| Stylus Radius | Gyger S |
| Stylus Type | Non-Replaceable |
| Load Resistance | 100 Ω |
| Load Capacitance | 100 - 500 pF |
| Internal Inductance | 2 uH |
| Internal Resistance | 8 Ω |
| Cartridge Weight | 5.7 g |
| Fixing Centre | 0.5" (12.7 mm) |
| Playing Weight | 1.5 - 2.0 g (1.7 g nom.) |
Οδηγίες τοποθέτησης της κεφαλής στον βραχίονα

Step 1
Put the cartridge up to the headshell and gently tighten the screws into the holes.

Step 2
Then use the Allen key to tighten (but not over-tighten) the cartridge into place. To prevent damage, be careful not to knock the stylus guard or stylus

Step 3
Then connect the wires from the back of the tone arm to the coloured connecting pins at the rear of the cartridge. Each wire is colour coded (red, white, green, blue). It is best to use tweezers or a pair of small pliers to connect them.

Step 4
As they are very delicate, it is best to grab the wire by the connector to prevent damage. Ensure the wires are connected properly.

Step 5
The next stage is correctly aligning the cartridge to the protractor. Gently put the stylus of the cartridge on to the crossover point of the protractor.

Step 6
Holding the cartridge off the protractor, use the Allen key to gently loosen the screws. Once loosened you need to rotate the cartridge so that it is parallel with the lines on the protractor. When you are happy that they are parallel, you need to re-tighten the screws.

Step 7
When tightened, place the stylus back on the protractor to confirm it still lines up.

Step 8
Use the second chart to check that everything is parallel in both positions. When you are happy, ensure the screws are tight enough (but not too tight). Your cartridge is now correctly aligned.